
Dropdown Lists
Custom Fields
Screen Layouts
Smart List Tabs
Dashboards
Getting Started with 1CRM
Phase 3: Customization

Phase 3: Customization


Head to the Admin – Studio – Dropdowns Editor to customize existing dropdown lists as desired, and create any new lists you may need. You use this to define your Categories for Leads and Contacts, for example.
Implementation Guide: Section 7.5.3
Implementation Guide: Section 7.5.3
Following that, use Admin – Studio – Custom Fields Editor to define any custom fields required. Custom field types include: Text, TextArea, Integer, Decimal, Percentage, CheckBox, Email, Phone number, Item number, Dropdown, Status, Multi-Select List, Date, Date & Time, Web Link, HTML, Calculated, Related Record, Value from Related Record, Currency and Name.
Implementation Guide: Section 7.5.2
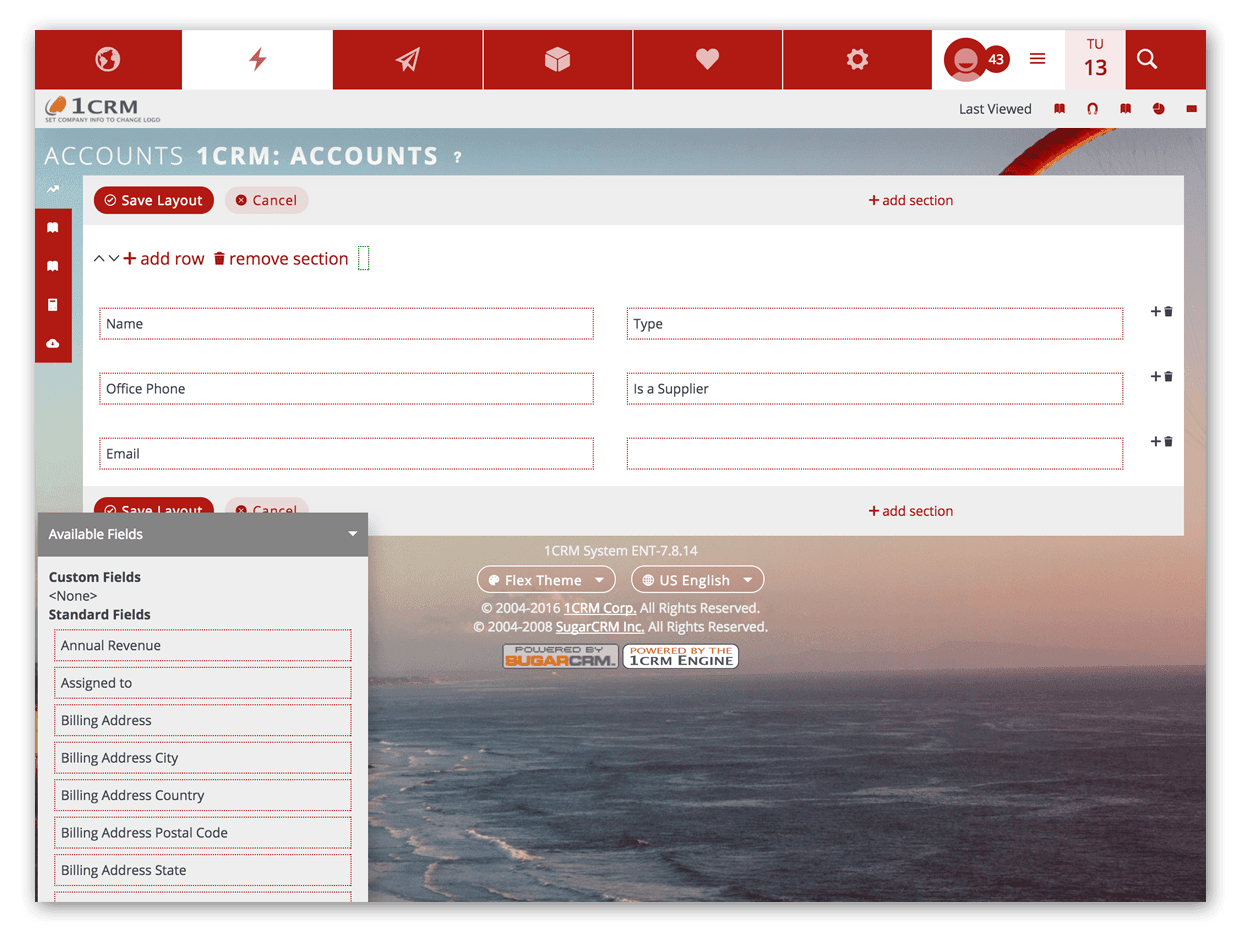
Your next step is to use the Admin – Studio – Layout Editor to edit screen layouts you wish to change. Add in any custom fields you have defined, remove any standard fields you don’t want (but leave all required fields!), or just rearrange things to your preference.
Implementation Guide: Section 7.5.1
After that, use Admin – Studio – Smart List Tab Sharing to define any smart list tabs desired, and share them as appropriate. These are the Tabs across the top of list views that help you define custom list views with different columns in the layout, or filtered / sorted to show the data just as you want to see it. Implementation Guide: Section 7.5.4
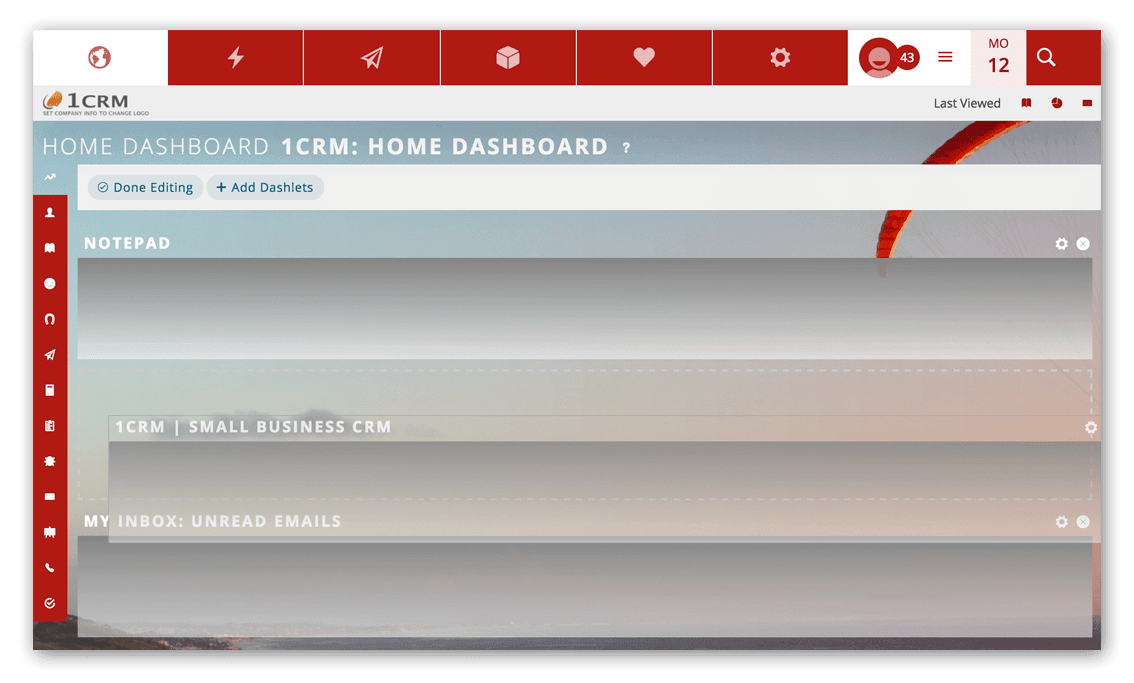
Lastly, visit each Dashboard and customize it as needed, and then share them all as appropriate. You can create and add dashboards anywhere in the menu system to instantly find the data you need. The simple Drag ‘n Drop interface enables you to add dashlets from all 1CRM Modules & Charts, plus your Calendar, News Feeds, World Weather and Stock Prices.
User Guide: Section 4.1
