Teams & Access Control
Order Management
Email Templates
User Settings
Getting Started with 1CRM
Phase 4: Ready for Launch
Phase 4: Ready for Launch
Once your dashboards are just as you want them, use Admin – Users – Team Management to define Teams for data access control and sharing. Note: You only need to do this if you want to control what different users are allowed to see and do in 1CRM.
Implementation Guide: Section 7.3.4
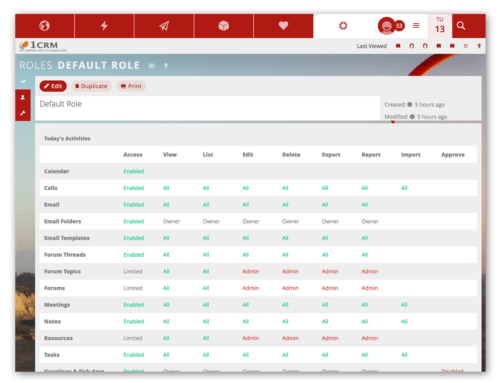
Now use Admin – Users – Role Management to define Roles for data access control. Roles combine with Teams defined in the step above to define the access limitations for each 1CRM user, controlling what data they can see and what actions they may take with that data.
Implementation Guide: Sections 7.3.3, 7.3.6
With Access Control rules now setup, the next step is to configure your system for Order Management. You only need to do this if you plan to use 1CRM to prepare Quotes, Sales Orders or Invoices – or perhaps for Purchasing.
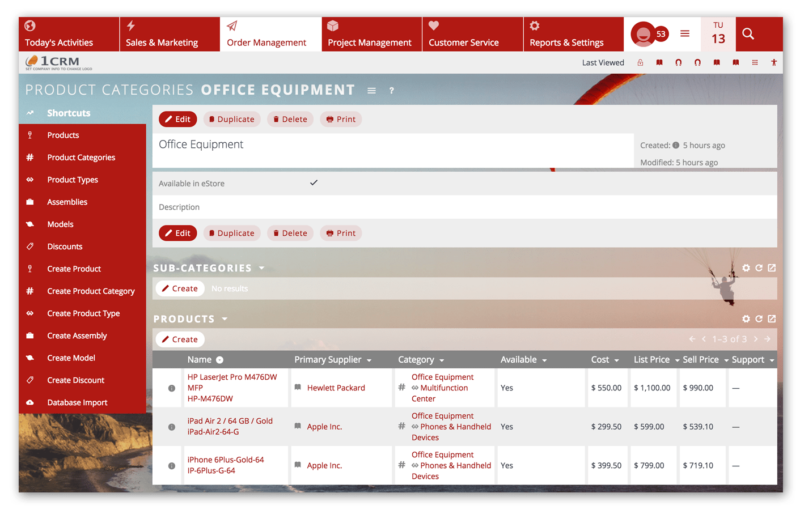
Define Product Categories and Types. User Guide: Section 6.10
Import Product Catalog items. Implementation Guide: Section 8.4
Use the PDF Form Designer (Enterprise Edition only) to create custom Quote and Invoice PDFs with your own images, colours and layout. Implementation Guide: Section 7.5.10
Configure Price Books (Enterprise Edition only) for client pricing segmentation. User Guide: Section 6.14
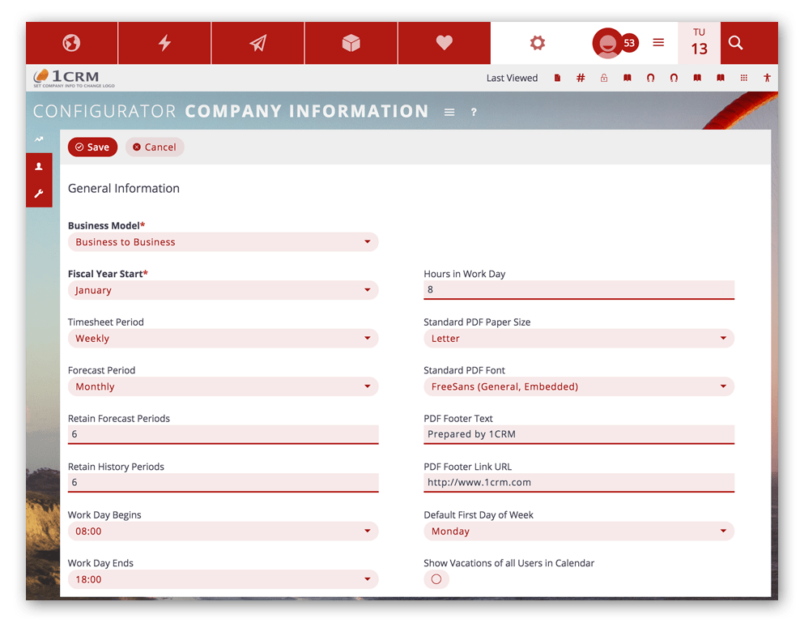
Configure Admin – Company Information settings the panels for Order Management, Company Logos, Company Addresses, Standard Terms text, plus the PDF settings in the General Info panel.
Implementation Guide: Section 7.1.1Configure the Admin – System Settings on the panels for Invoices & Bills. Implementation Guide: Sections 7.1.2
Configure the settings in Admin – Tax Codes, Tax Rates, and Shipping Providers. Implementation Guide: Section 7.6
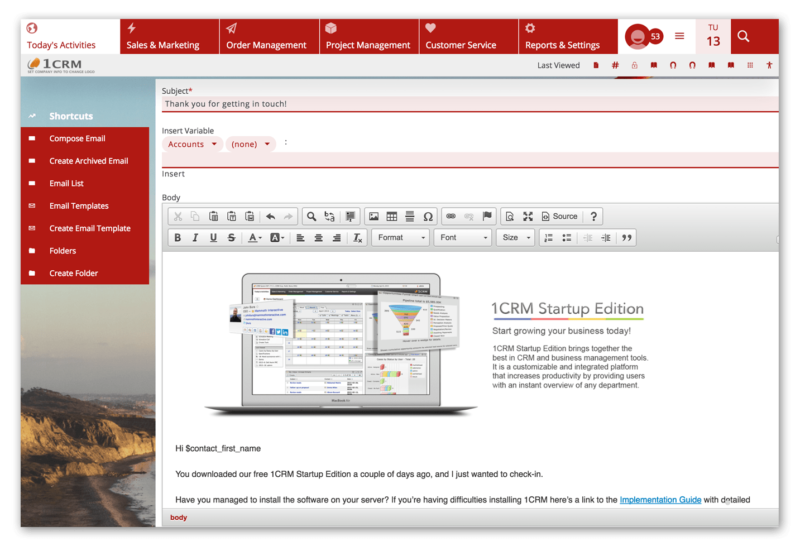
Define any Email Templates desired for sales, marketing & service communications. You use these both for Email Campaigns as well as for handy quick standard responses for common client interactions.
User Guide: Section 5.3.1
You can also apply these templates to drip-feed campaigns, where every new lead gets multiple emails at a timed progression automatically. Dynamic target lists automatically include all Leads and Contacts meeting your criteria without tiresome list management. Learn more »
These last few steps need to be performed for each user account, individually:
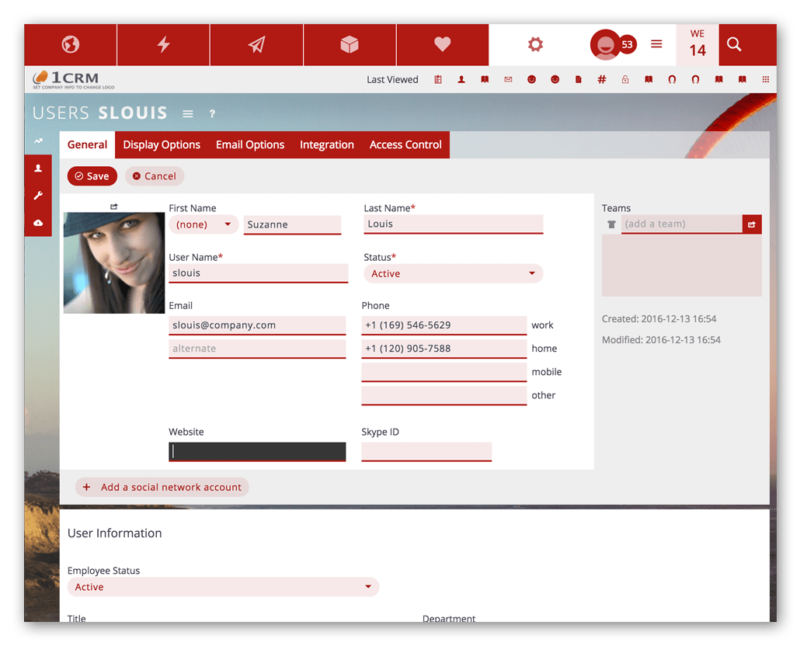
Using the My Account – General tab (or as an Admin, use Admin – Users – User Management, and click on the user name desired): Define user info and settings. User Guide: Sections 10.1.1 – 10.1.5
Using the My Account – Display Options tab: Set preferred locale information. User Guide: Sections 10.1.6 – 10.1.7
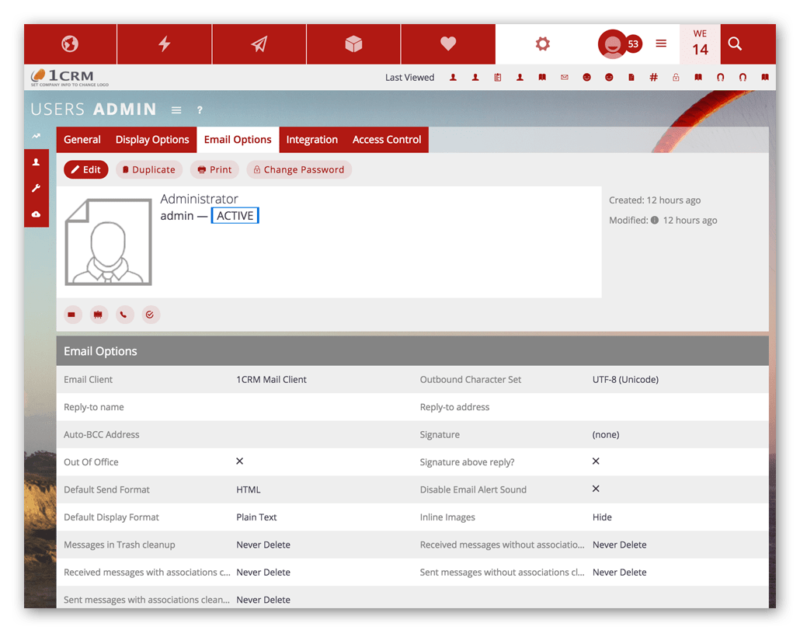
Using the My Account – Email Options tab: Define monitored mailboxes. Note: This is where each user’s incoming email account (or accounts – each user can bring in email from multiple accounts) settings are entered. This is how 1CRM brings in emails from email accounts each user already has in operation. User Guide: Sections 10.1.8 – 10.1.10
Define outbound email settings for all users. Note: This is different from the email settings in the previous step. Those settings are used for emails sent by the system (reminders, notifications, email campaigns). These settings are used for individual user emails they compose and send. User Guide: Section 10.1.9
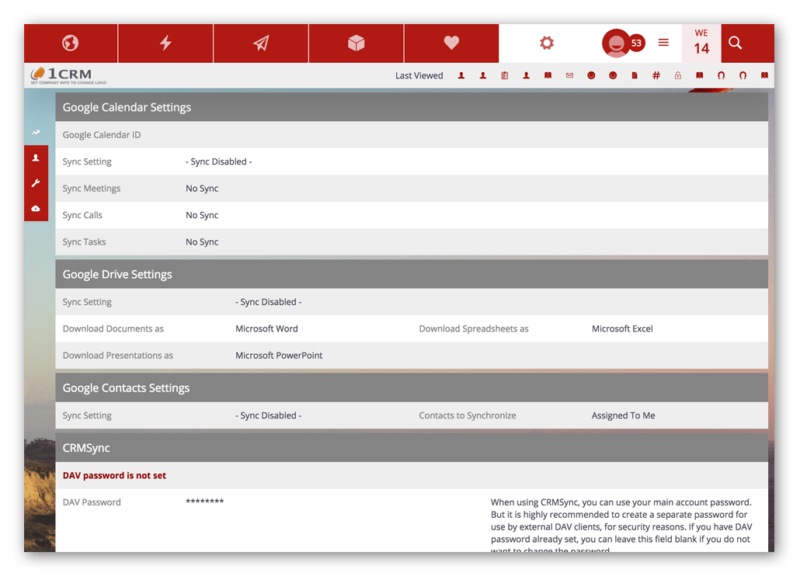
Using the My Account – Integration tab: Setup integration with Google Apps (Google Drive, Calendar and Contacts), GoToMeeting, and Dropbox, and configure CRMSync synchronization of Contacts/Calendar/Tasks to iOS/Android/Outlook/OSX. User Guide: Sections 10.1.11 – 10.1.19

