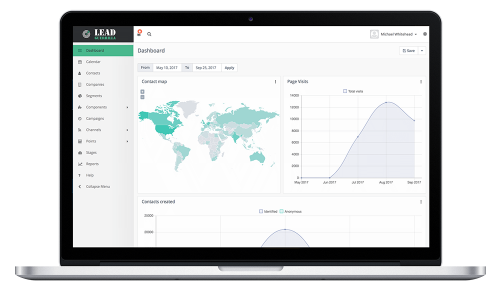
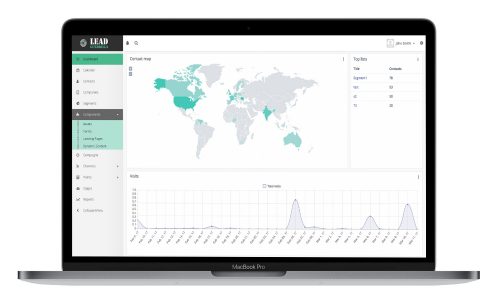
Picture a black box that plugs into the wall. Plug it in, turn on the switch, and qualified leads with an interaction history are automatically added into your 1CRM system – day in and day out – while the system is running. You’ll also get charts and feedback on which messages clients respond to best, so that the ‘machine’ can just get more and more effective over time.
Lead Guerrilla is a control panel for your brand’s marketing efforts, organizing your website, social media, text and email communications into a single, intuitive Marketing Automation system.
Revolutionize Your Marketing - Get Lead Guerrilla!
Lead Guerrilla 1CRM Integration Setup
This integration enables Lead Guerrilla Contacts to automatically update 1CRM Leads or Contacts, and vice versa. The process of linking a 1CRM instance with a Lead Guerrilla instance is as follows: (We use the example here of a Lead Guerrilla instance at http://example.leadguerrilla.cloud, and a 1CRM instance at https://example.1crmcloud.com.)
One-Way or Two-Way Sync?
A useful aspect of the 1CRM to Lead Guerrilla Sync is that there are two parts to it – one part in 1CRM, and one in Lead Guerrilla (the Plugin). Should you wish your sync between them to be two-way, just follow all the instructions below. If on the other hand, you’d prefer it to be only one-way, you can do that too.
-
One-way sync: Lead Guerrilla –> 1CRM – Just enable and configure the Lead Guerrilla Plugin, and do not configure the 1CRM end.
-
One-way Sync: 1CRM –> Lead Guerrilla – Just configure the 1CRM settings for Lead Guerrilla Sync, and do not enable and configure the Lead Guerrilla Plugin.
Configure the Lead Guerrilla Plugin
-
In 1CRM, enable the REST API (see 1CRM Implementation Guide Section 7.8.1). You may also choose whether or not to Allow API calls via insecure connections (http://).
-
In 1CRM, go to API Clients in Admin (see 1CRM Implementation Guide Section 7.8.2), and create a new API Client. Give it a name, and set Enabled Grant Types to Client Credentials. Make sure it is Enabled, and select a user. Requests from Lead Guerrilla will be executed on behalf of the selected user. Save the record, then change the API Secret. Take a note of the API Secret and the Client ID.
-
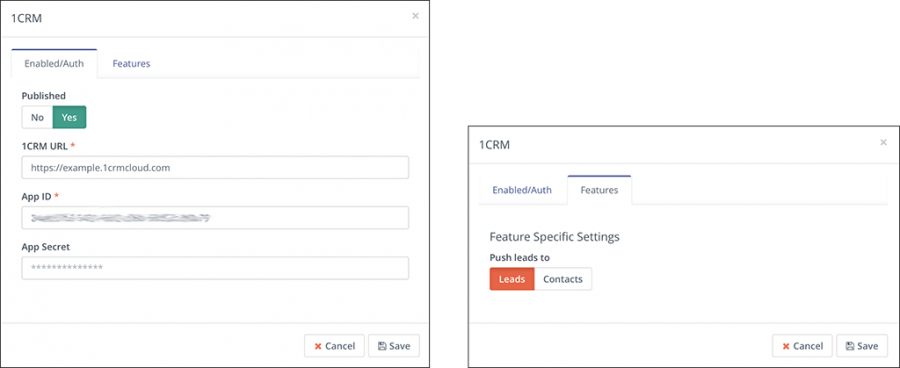
In Lead Guerrilla, click on the gear icon and then select Plugins from the Settings menu. Click on the 1CRM plugin, to edit its configuration. Set App ID and App Secret to those from the previous step, and the 1CRM URL to https://example.1crmcloud.com. On the Features tab, choose to Sync to Leads or to Contacts – and be sure to make the same choice in the next section!
Configure the 1CRM Settings for Lead Guerrilla Sync
-
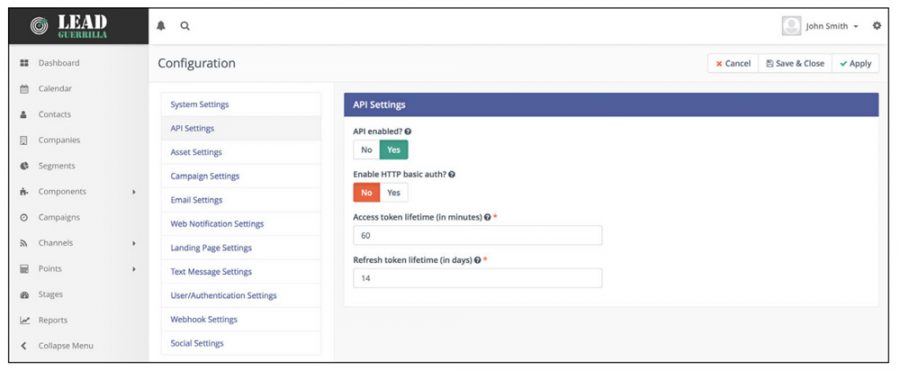
Within Configuration, select API Settings, and enable the API, then Save the configuration.
-
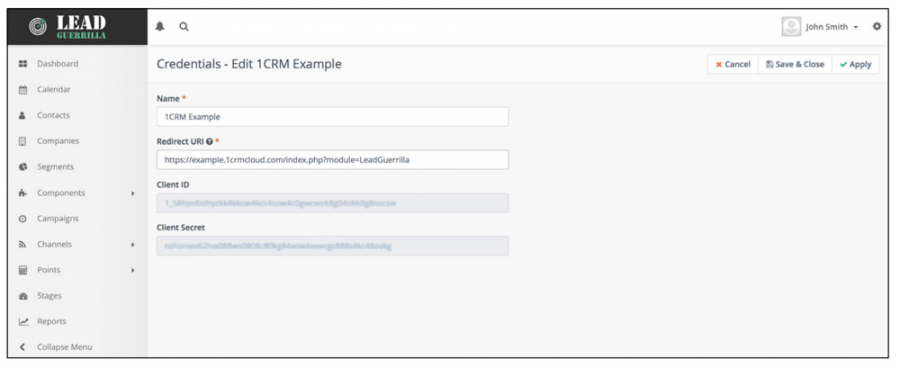
Now a new option is available in the Lead Guerrilla Settings menu – API Credentials. Select it, then click New. Make sure Authorization Protocol is set to OAuth 2.
-
Enter a name, for example 1CRM. For Redirect URL, enter https://example.1crmcloud.com/index.php?module=LeadGuerrilla
-
Click Apply, then Save & Close. Note the Client ID (Public Key) and Client Secret (Secret Key).
-
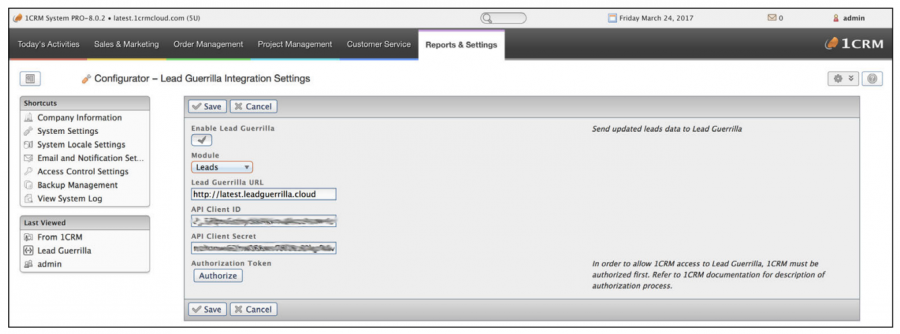
In 1CRM, go to Lead Guerrilla API Settings in Admin. Check Enable and choose Leads or Contacts to send to Lead Guerrilla – and make sure it is the same choice as in the previous section! Next enter the Lead Guerrilla URL, API Client ID and API Client Secret from the previous step, then Save.
-
In 1CRM, return to Lead Guerrilla Settings and click Authorize. A window opens where you login and then grant 1CRM permissions to access Lead Guerrilla. The window then closes and the 1CRM settings are saved automatically. You’re all done!
1CRM / Lead Guerrilla Field Mapping
When the two systems are linked by the integration process described above, the following fields are mapped by default:
Lead Guerrilla <===> 1CRM
- title <===> title
- firstname <===> first_name
- lastname <===> last_name
- company <===> account_name
- phone <===> phone_work
- mobile <===> phone_mobile
- fax <===> phone_fax
- address1, address2 <===> primary_address_street
- city <===> primary_address_city
- state <===> primary_address_state
- zipcode <===> primary_address_postalcode
- country <===> primary_address_country
- website <===> website
In addition the Lead Guerrilla / 1CRM Integration features the extremely useful ability to map 1CRM Checkbox fields within the Leads module to Tags on Contacts within Lead Guerrilla. Simply create custom Checkbox fields in the Leads module within 1CRM and matching Tags will be created within Lead Guerrilla, and the two corresponding elements will sync values with each other.
Note: These 1CRM fields must have names starting with tag_, followed by the tag name, with spaces replaced with underscores. Field names are limited to using only letters and digits, and character case matters. For example if you create a field named tag_Sample_Tag within the 1CRM Leads module, a tag named Sample Tag will be added to Contacts in Lead Guerrilla, and vice versa. Other fields within Lead Guerrilla Contacts can be mapped to custom fields in 1CRM. Simply create a custom field in 1CRM with Lead Guerrilla’s field name, prefixed with lg_. For example, to sync the points field we see on each Contact in Lead Guerrilla, create a corresponding custom Integer field in the 1CRM Leads module called lg_points.


